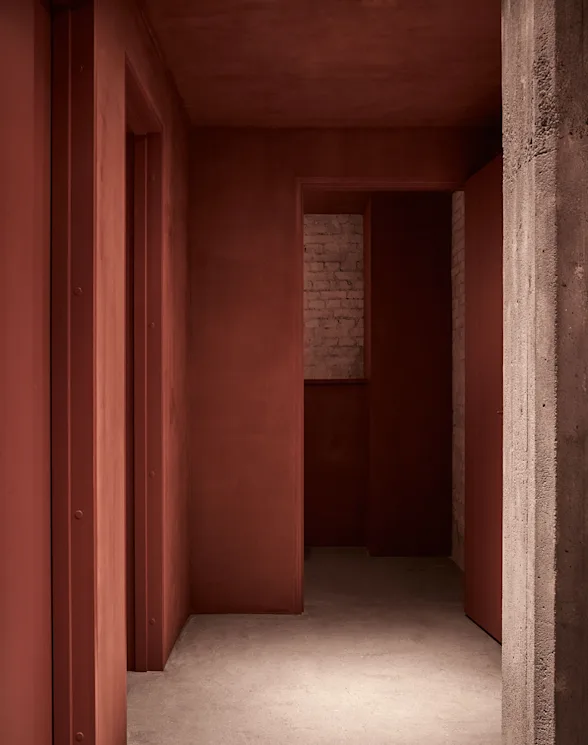
KABRIC Floor guide with Prepare
Before KABRIC Floor
Your current floor surface determines which Primer you will need for your KABRIC Floor project. We recommend reading this guide and watching the accompanying instructional video before embarking on your KABRIC Floor project. It is a good idea to plan where you start and end each process to achieve the best working conditions. Remember suitable tools and protective equipment. See more in the KABRIC Floor Instructional Video or FAQ.
Step 1: Prepare
Make sure that the surface is completely even, clean, dry and firm. Delimit the area using masking tape, before applying Prepare with a roller and/or a paintbrush in a thin, covering layer. Leave the product to dry for at least 6 hours before treating it again. Sand down any irregularities with sandpaper (grain 180) and vacuum the surface thoroughly. Leave the masking tape for the next treatment.
Step 2: KABRIC Floor
Make sure that the surface is 100% even and smooth before applying KABRIC Floor. Dents and recessed irregularities should be filled out with Smooth Prepare and elevated irregularities should be sanded away.
Make sure that the area is delimited with masking tape. Open the KABRIC Floor bucket and stir until achieving a smooth and uniform consistency. Apply a thin, even and covering layer to the entire area with a suitable wide filling knife. Leave the area to dry for a minimum of 5 hours, before removing the masking tape. Sand away any irregularities with sandpaper (grain 120-180) and vacuum the surface thoroughly.
Delimit the area with masking tape again. Stir KABRIC Floor until achieving a smooth, uniform consistency and apply another thin, covering layer. Note that transitions will be clearly visible. Therefore, try to work wet-in-wet and avoid any visible transitions by working across the already-finished area. The effect will be based on the way KABRIC Floor is applied. Make sure to apply in soft, curved motions and avoid applying in straight lines going in just one direction. Leave the area to dry for a minimum of 5 hours, before removing the tape. For an extra soft finish, the entire area can be sanded again after the second layer, using sandpaper grain 180. Vacuum the surface thoroughly.
Step 3: Choose varnish
Strongcoat Matt / Strongcoat Silk
Delimit the area with masking tape and make sure that the surface is completely clean before beginning to apply the varnish. Shake the varnish thoroughly and pour it into a paint tray, before applying a layer of varnish to the entire area. We recommend using a paintbrush for the edges and a roller for the larger areas. Make sure to roll the varnish on in long, straight lines and apply an even pressure throughout. Repeat the process three times. Leave the area to dry for 2 hours between each layer. The masking tape can be removed 2 hours after the final layer.
Strongcoat Extra
Delimit the area with masking tape and make sure the surface is completely clean before beginning to apply the varnish. In a clean, empty bucket, pour in Component A first and then Component B. Stir the varnish thoroughly with a paint stirrer for 2-3 minutes. Pour the varnish into a paint tray and begin applying the first layer. We recommend using a paintbrush for the edges and a roller for the larger areas. Avoid layers too thin and make sure to roll on the varnish in long, straight lines. Repeat the process three times within 24 hours. Make sure to stir the varnish before use for each layer. Leave the area to dry for 3 hours between each layer. The tape can be removed 3 hours after the final layer.
After KABRIC Floor
Once all processes have been completed, it is important that the floor system is allowed to dry and harden properly. On the back of the products, you can read about the hardening times for each component. Once KABRIC Floor has thoroughly hardened, the surface can be cleaned with diluted, mild detergents without abrasives. Always use cleaning tools that do not scratch the surface. We recommend that you use felt cushions under furniture to take the best possible care of the new floor.


